The children begged me to share this recipe. It's super easy and I have to admit that it is not mine, I got it from someone else. (Ms. Tami)
Homemade ranch veggie dip
Ingredients:
1 16 oz. container of cottage cheese
1/2 cup of sour cream OR plain greek yogurt
1/4 cup mayo
1-2 tsp. minced onion
1-2 tsp. dill weed
Salt and pepper to taste
Blend together until it is a smooth, creamy texture. Chill and serve with your favorite veggies.
Showing posts with label Recipes. Show all posts
Showing posts with label Recipes. Show all posts
Wednesday, January 27, 2016

Tuesday, January 19, 2016
snow dough
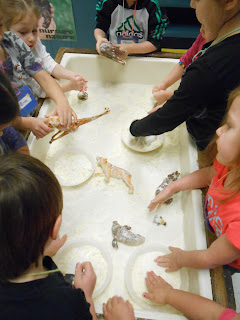
Since real snow would be a little cold to play with (and isn't realistic in Kansas....), I found a very simple recipe for snow dough, which is fun to play with and makes your hands feel soft and silky. Bonus!!
Here is the simple recipe:

Here is the simple recipe:
2 cups corn starch
1/3 to 1/2 of a cup vegetable oil (I used canola and it worked just fine)
A couple good shakes of silver glitter
1/3 to 1/2 of a cup vegetable oil (I used canola and it worked just fine)
A couple good shakes of silver glitter
Mix together until crumbly. It forms into balls and when you squish it, it crumbles. Play away!
Retrieved from this blog: http://www.inhabitots.com/20-educational-and-fun-sensory-table-activities-for-kids/snow-dough-winter-sensory-table/
 |
| Exploring the white, fluffy stuff! |

 |
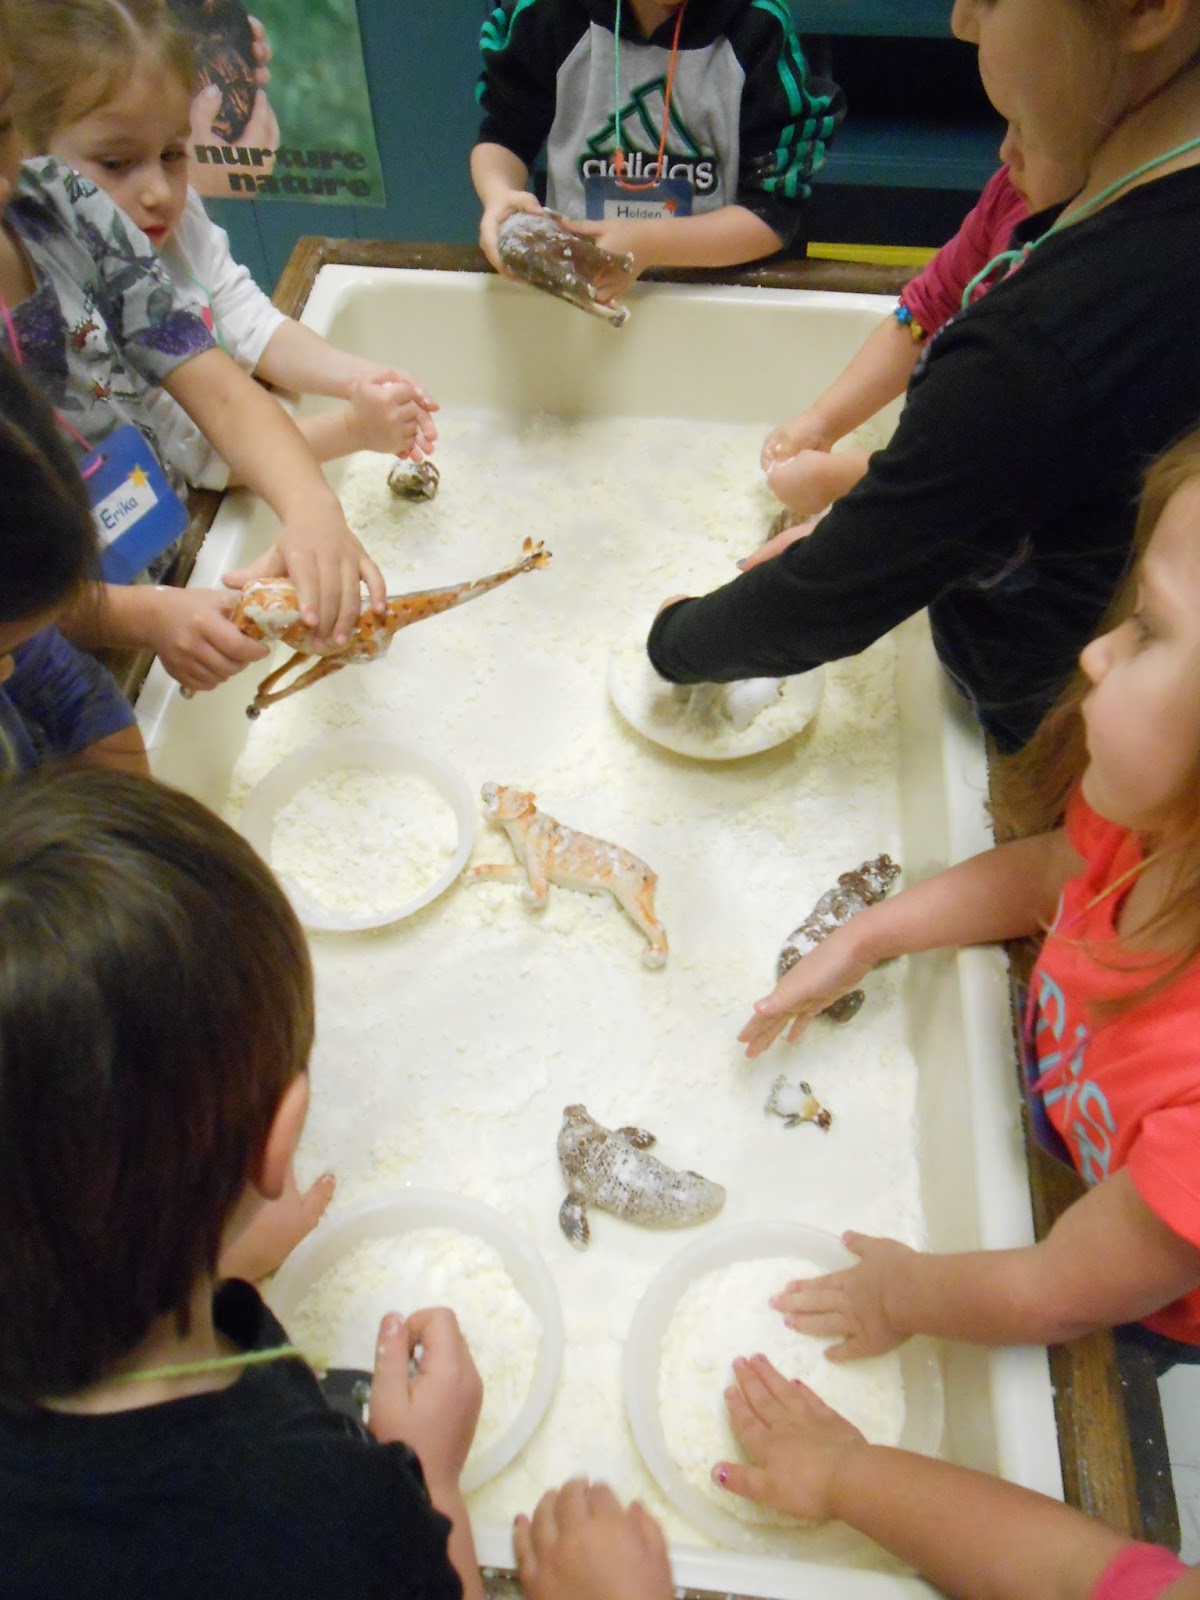
| Count them. Yes, there are 8 and not one squabble or complaint! They got along beautifully the entire choice time. :) |
 |
| This isn't a snow animal, but it sure is fun to cover in snow! |
 |
| This gal made a sea shell out of the snow dough. Go figure. |
Thursday, December 10, 2015
Salt Dough Ornaments
SPOILER ALERT!
If you haven't already opened your parent gift, don't read this post.
This is the recipe I used for the ornaments you received from your child.
There are a gazillion different recipes out there, but this is the one I chose:
Several notes/adaptations I made to recipe:
** Bake at 300 for 20 minutes (you don't want them turning brown like cookies) and leave ornaments out to completely dry out - no need to store them in an air-container - it actually softens them, which I learned the hard way. :(
** The recipe doesn't say it, but this part is so important - prick the dough after you have cut shapes out, it keeps the dough from bubbling up during the baking process, again - learned this the hard way....
**Once completely dry, use acrylic paints and glitter to decorate. Let dry and spray with acrylic sealer. Then add yarn or ribbon to hang from tree.

from: http://www.cathyhecknurseryart.com/blog/2009/12/salt-dough-ornaments/
If you haven't already opened your parent gift, don't read this post.
This is the recipe I used for the ornaments you received from your child.
There are a gazillion different recipes out there, but this is the one I chose:
Several notes/adaptations I made to recipe:
** Bake at 300 for 20 minutes (you don't want them turning brown like cookies) and leave ornaments out to completely dry out - no need to store them in an air-container - it actually softens them, which I learned the hard way. :(
** The recipe doesn't say it, but this part is so important - prick the dough after you have cut shapes out, it keeps the dough from bubbling up during the baking process, again - learned this the hard way....
**Once completely dry, use acrylic paints and glitter to decorate. Let dry and spray with acrylic sealer. Then add yarn or ribbon to hang from tree.
from: http://www.cathyhecknurseryart.com/blog/2009/12/salt-dough-ornaments/
Friday, November 6, 2015
Making applesauce - part 2
Day #2 for making applesauce. It was a great experience and the children seemed to enjoy cranking the applesauce maker (I know that's not the technical term for that contraption, that's just what I call it) and watching to see how the sauce squeezes out into a pan and then the core, seeds and skin ooze out of another part. Kind of sounds gross.
The results = yumminess!


The results = yumminess!
 |
| applesauce! |


 |
| She asked me if I was watching her while she cranked the machine. :) |


Enjoy some apples this Autumn season!
Thursday, November 5, 2015
Wednesday baking -- apple pizza
Apples are delicious in every shape and form. I came up with an apple pizza recipe to have for snack on Wednesday. I had lots of helpers, which I enjoy. I like to have children help cook and prepare food - it gets them interested in the process and helps them to be more interested in eating the results! :)
Larisa's apple pizza:
Ingredients:
2 8 oz. tubes of Pillsbury Crescent Dough Sheet
Butter
Brown Sugar
Cinnamon
Thinly sliced apples of your choice (3-4)
1. Spread Crescent dough sheets into 2 cake pans
2. Spread melted butter and brown sugar on top. Be generous!
3. Place sliced apples on top until all covered.
4. Sprinkle with cinnamon
5. Place in oven and bake for 7-9 minutes. Watch closely so crust doesn't burn.


Larisa's apple pizza:
Ingredients:
2 8 oz. tubes of Pillsbury Crescent Dough Sheet
Butter
Brown Sugar
Cinnamon
Thinly sliced apples of your choice (3-4)
1. Spread Crescent dough sheets into 2 cake pans
2. Spread melted butter and brown sugar on top. Be generous!
3. Place sliced apples on top until all covered.
4. Sprinkle with cinnamon
5. Place in oven and bake for 7-9 minutes. Watch closely so crust doesn't burn.


 |
| Always eat the leftovers.... these 3 |
 |
| Fresh out of the oven. I left them in a little too long, the crust was dark, but it was still edible and tasty. |
making homemade applesauce on Thursday
We've been learning a lot about apples this week - different kinds, how they taste and how they grow. We tasted different kinds of apples on Tuesday during snack. The names of apples are fun - Granny Smith, Gala, Fuji, Golden Delicious, etc. It makes you wonder how they got their names? I thought the children would enjoy making homemade applesauce today, and they did! And it was very very delicious. As one child said, "This is the best applesauce ever!!!"


 |
| We are ready to make APPLESAUCE! |
 |
| Cranking the apples through the machine. |
 |
| Everyone that wanted to help got a turn to turn the crank. |
 |

The child in pink held the yellow bowl so the scraps fell into it.
 |
| It takes work and strength to make applesauce! |

 |
| The best applesauce ever!! |
Wednesday, October 21, 2015
buckeyes
When you hear the word buckeyes, what do you think of? People from Ohio would say Ohio State or buckeyes my mom/grandma used to make, or trees. Hesston is obviously not in Ohio, but HC does have a row of buckeye trees just east of Mary Miller Library. They are the first trees to turn colors in the fall and every other year produce the buckeye seeds which squirrels snatch up quickly. We had buckeyes for snack yesterday and today (the candy of course!!) and there was not one morsel left.
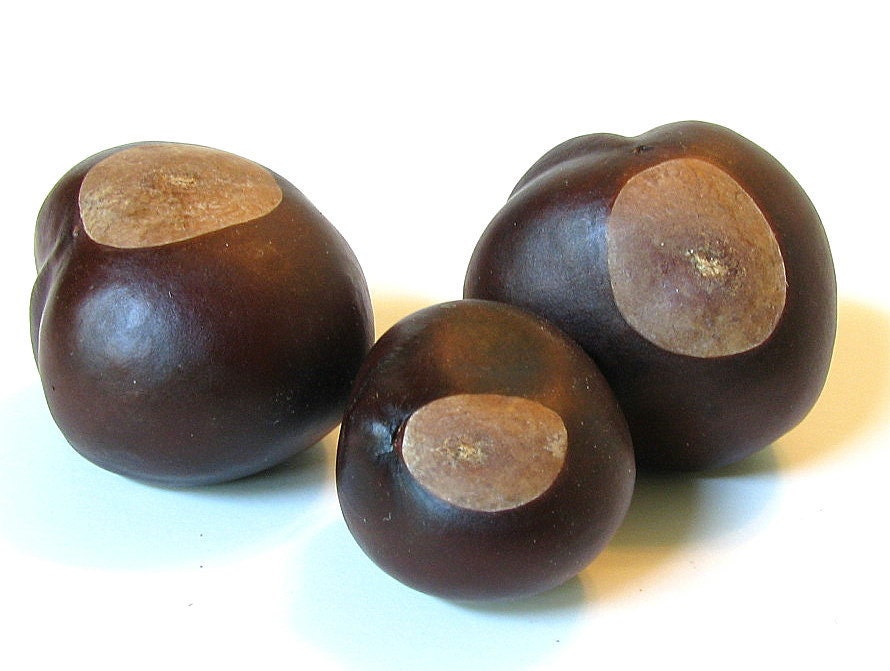 buckeye seeds |
 buckeye candy Here is the recipe:
INGREDIENTS:
1 1/2 cups creamy peanut butter
1/2 cup butter, softened
1 teaspoon vanilla extract
1/2 teaspoon salt
2 cups powdered sugar
1 (12 ounce) package semi-sweet chocolate chips
2 tablespoons Crisco all-vegetable shortening
DIRECTIONS:
1. Combine peanut butter, butter, vanilla and salt in mixer. Beat on low until blended. Add 2 cups powdered sugar, beating until blended. Beat in additional powdered sugar until mixture, when shaped into a ball, will stay on a toothpick. Shape into balls. Refrigerate until firm.
2. Place chocolate chips and shortening in microwave-safe bowl. Microwave for 30 seconds. Stir. Repeat until mixture is smooth.
3. Insert toothpick into peanut butter ball and dip 3/4 of ball into chocolate, leaving the top uncovered to resemble a buckeye. Place on wax paper-lined tray. Remove toothpick. Refrigerate until firm. Keep refrigerated until read to serve.
4. Recipe makes about 80 balls.
Recipe from: allrecipes.com
Buckeyes are super easy to make and if you like Reese's peanut butter cups, you will definitely like buckeyes!!
|
Friday, October 2, 2015
SALSA!
We made our snack today and boy was it tasty!
Here are the ingredients we used:
Roma tomatoes (about 5)
1/2 yellow onion
2 cloves garlic
A "bunch" of cilantro
Juice of 1 lime
salt and pepper to taste.
I was planning to add a jalapeno from my garden, but I forgot to bring one, so this recipe is mild.


Here are the ingredients we used:
Roma tomatoes (about 5)
1/2 yellow onion
2 cloves garlic
A "bunch" of cilantro
Juice of 1 lime
salt and pepper to taste.
I was planning to add a jalapeno from my garden, but I forgot to bring one, so this recipe is mild.
 |
| First we cut tomatoes into quarters - yes, I did let them cut with a sharp knife, carefully supervised. We still have all of our fingers! |
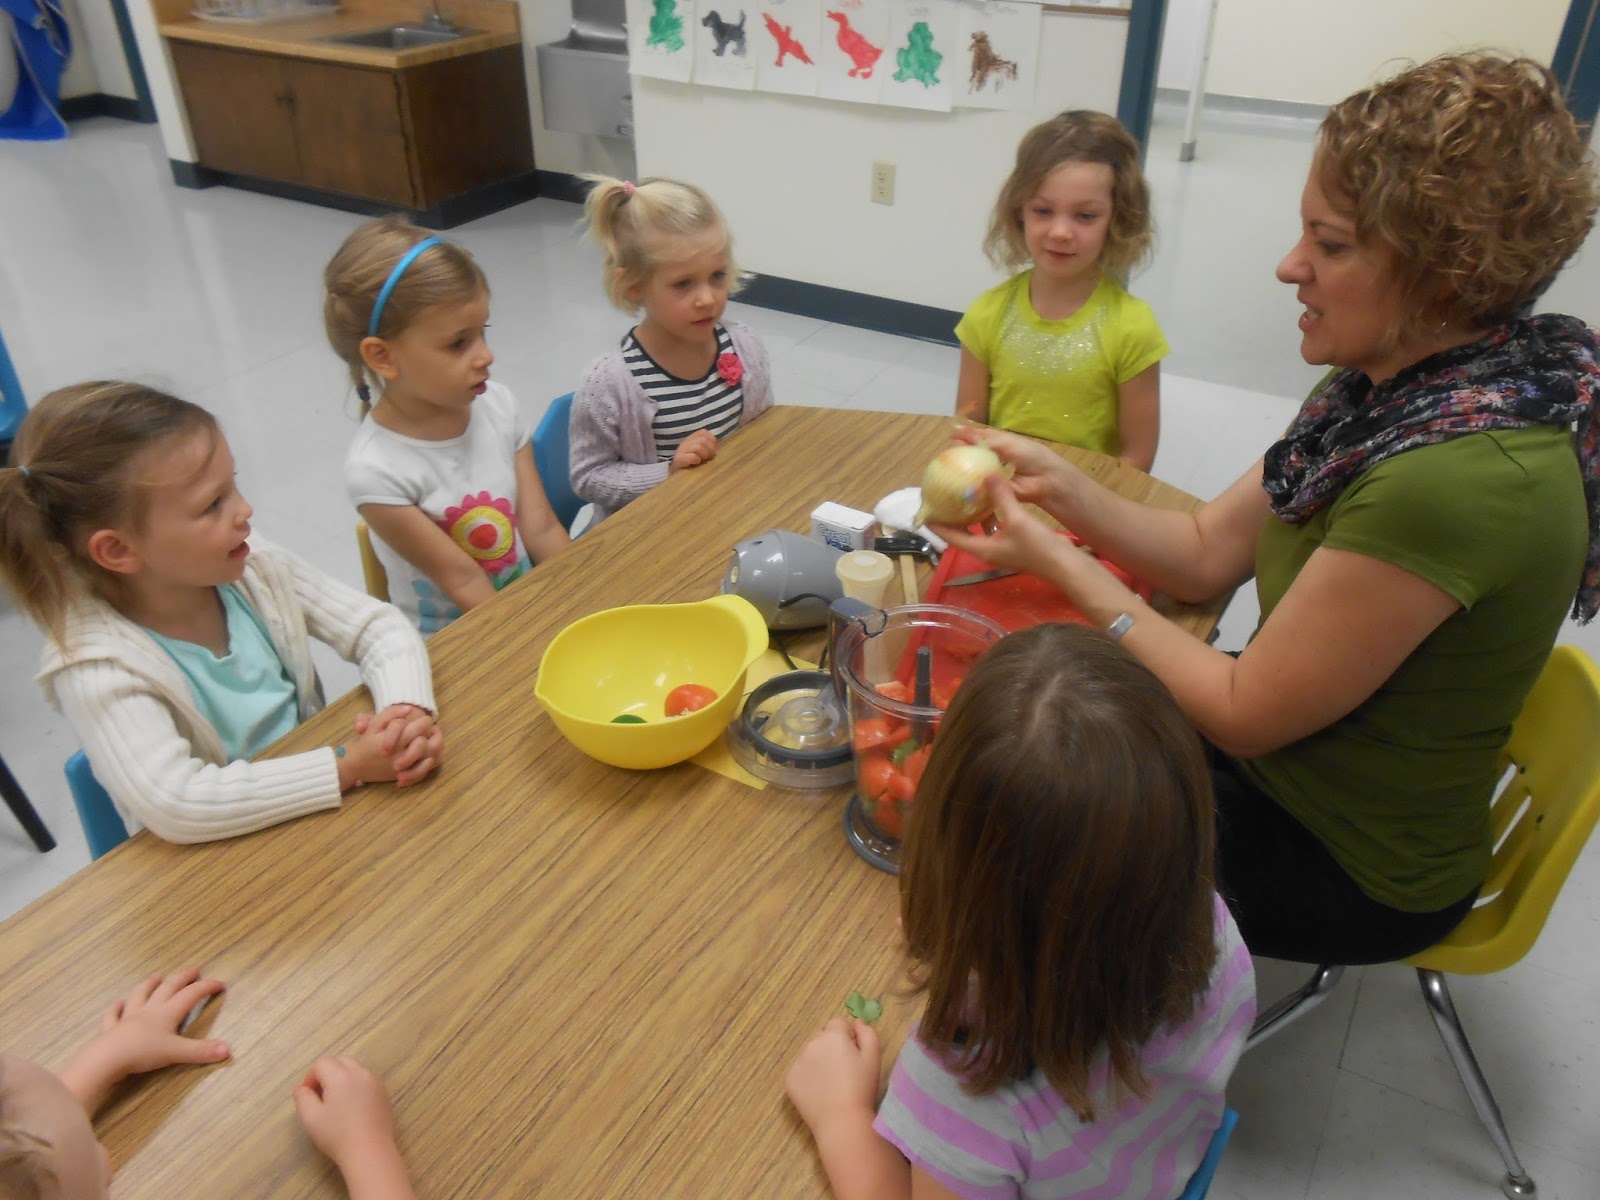 |
| Then the smelly strong onion! |
 |
| And garlic. |
 |
| Then the squeezing of the lime. Great fine motor skills practice!! |
 |
| It helps if you scrunch up your face while you squeeze. |


 |
| And then we tasted lime pieces. Tart and tasty! |
 |
| Before we "Ninja-ed" it! |
 |
| And after. It took less than a minute to blend it together. And then we ate it with chips for snack. :) |
Wednesday, September 23, 2015
monkey bread
The preschool sure smelled good today - as they monkey bread was baking in the oven. Most of the children already knew that's what we were having for snack. :)
Here's the simple easy recipe I used:
1 bag of frozen rhodes rolls
1 melted stick of butter
Cinnamon sugar
Spray bundt pan and then dip rolls in butter and roll in cinnamon sugar then place in pan. Keep adding until almost to the top of pan, leave some room for dough to raise. Cover and set in fridge overnight. Set out a little (to raise even more). I added a few chunks of butter on top right before I put it in the oven. Bake at 350 for 30 minutes. Let it cool a little and then lay a large plate on top of pan and flip. Then pull, eat and enjoy!

Here's the simple easy recipe I used:
1 bag of frozen rhodes rolls
1 melted stick of butter
Cinnamon sugar
Spray bundt pan and then dip rolls in butter and roll in cinnamon sugar then place in pan. Keep adding until almost to the top of pan, leave some room for dough to raise. Cover and set in fridge overnight. Set out a little (to raise even more). I added a few chunks of butter on top right before I put it in the oven. Bake at 350 for 30 minutes. Let it cool a little and then lay a large plate on top of pan and flip. Then pull, eat and enjoy!

Subscribe to:
Posts (Atom)